Overview
This article gently guides you through the process of confidently performing a fingerstick blood sugar test. It highlights the importance of proper preparation, technique, and troubleshooting common issues, ensuring you feel supported every step of the way. By detailing the necessary supplies, a clear step-by-step testing procedure, and expert tips for accurate readings, it empowers you to take control of your diabetes management. Remember, you’re not alone in this journey, and we are here to support you.
Introduction
Managing diabetes can feel overwhelming, but understanding how to monitor your blood sugar levels is a vital step towards taking control of your health. Learning to perform a fingerstick blood sugar test not only empowers you but also helps prevent potential complications. In this guide, we will explore the essential supplies you need, provide step-by-step procedures, and share troubleshooting tips for effective testing.
By mastering these techniques, you can ensure reliable readings and foster a collaborative relationship with your healthcare providers. Remember, you’re not alone in this journey; we are here to support you every step of the way. Let's enhance your overall diabetes management together.
Gather Necessary Supplies and Prepare
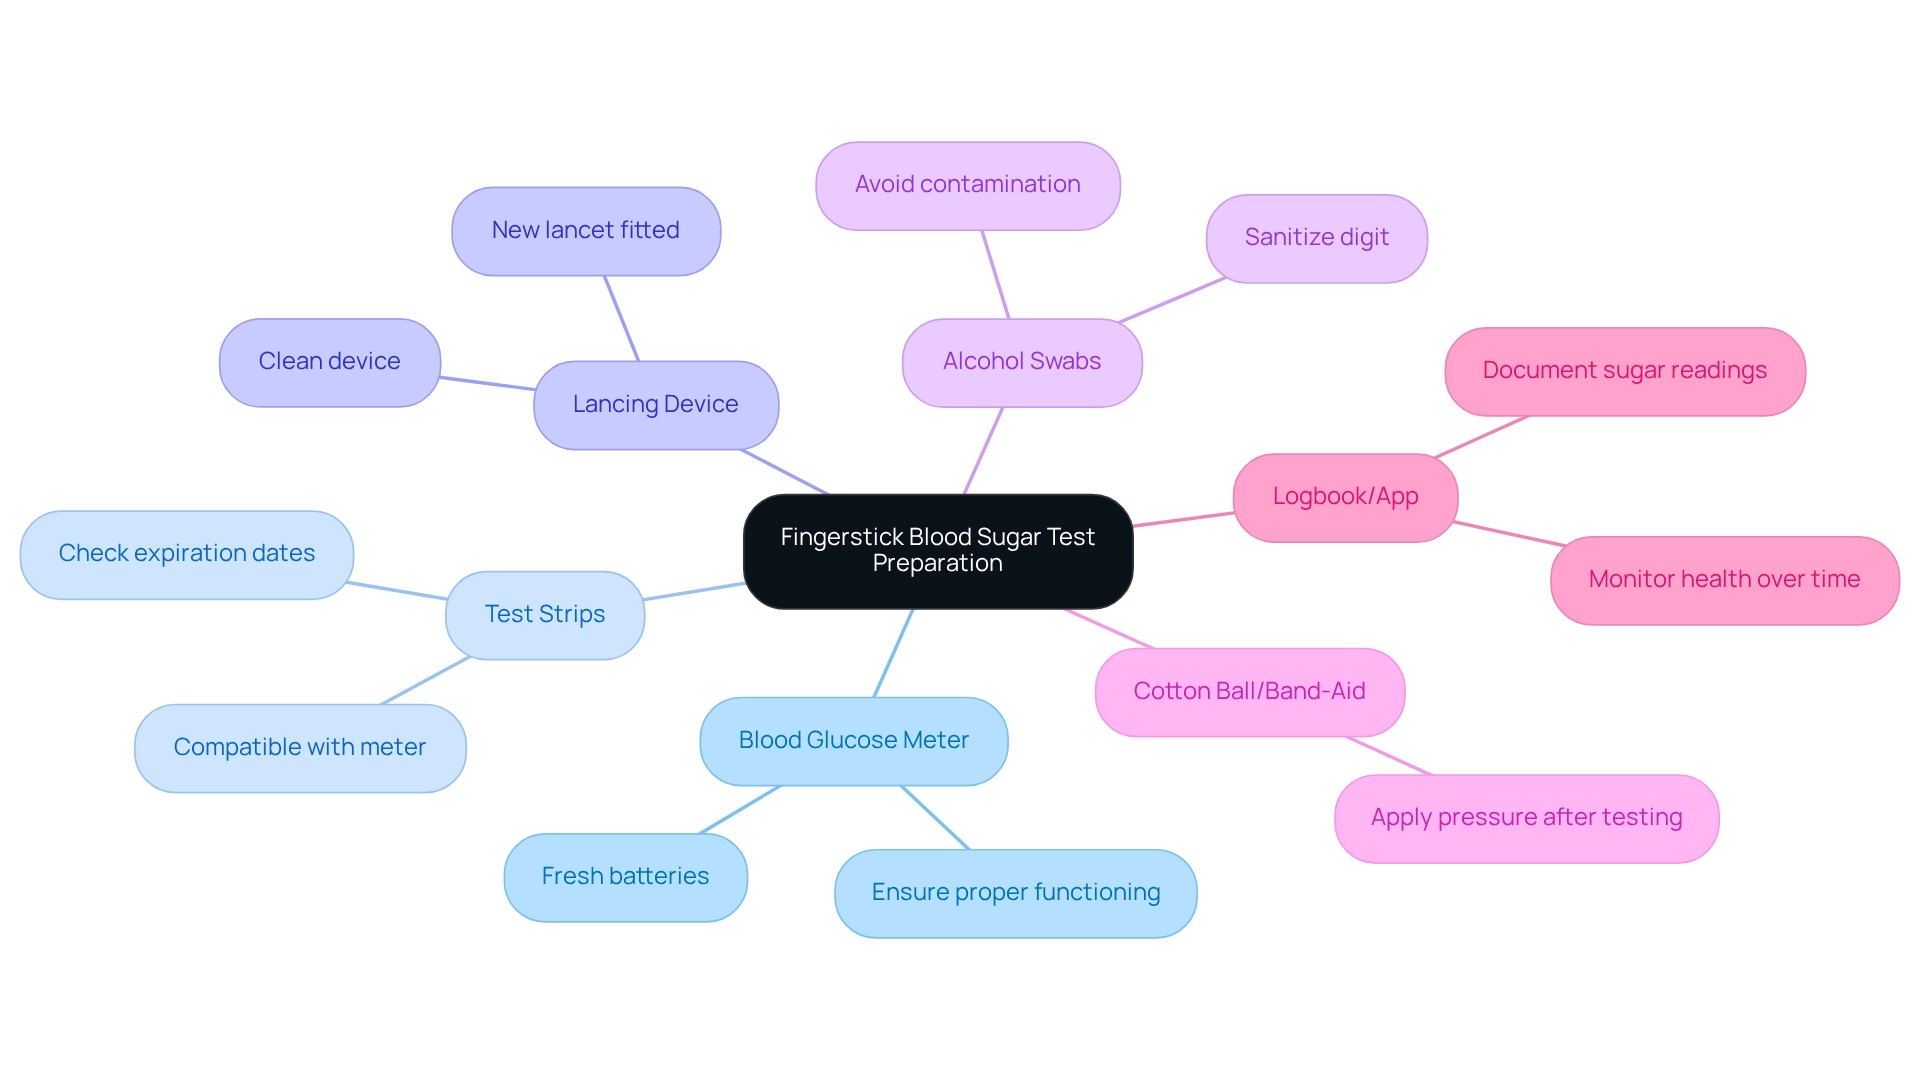
To successfully perform a fingerstick blood sugar test, it’s essential to gather the following supplies:
- Blood Glucose Meter: Ensure it is functioning properly and equipped with fresh batteries.
- Test Strips: Use strips compatible with your meter, checking expiration dates regularly (every few months) to ensure accuracy.
- Lancing Device: This device is used to prick your digit; ensure it is clean and fitted with a new lancet.
- Alcohol Swabs: Sanitize your digit prior to examination to avoid contamination and guarantee dependable outcomes.
- Cotton Ball or Band-Aid: Use these to apply pressure to the finger after testing if necessary.
- Logbook or App: Document your sugar readings for future reference, which is essential for monitoring your health over time.
Before starting the test, wash your hands thoroughly with soap and water to maintain cleanliness. It’s vital to regularly check the expiration dates of your supplies; replace any items that are close to expiring to ensure optimal performance.
As you navigate your diabetes management journey, remember, you’re not alone in this. T2DSolutions is here to support you. We provide resources and guidance to help you understand how to effectively use these supplies and manage your fingerstick blood sugar levels. A recent study emphasizes that a systematic method for managing glucose levels necessitates cooperation between patients and healthcare professionals, highlighting the significance of precise evaluation and monitoring. As Dr. Beata Mianowska notes, "Further studies should also focus on standardized, broader comparisons between other lancing devices available on markets or being prepared for launch."
Furthermore, advancements in blood sugar monitoring technologies, such as smart glucometers and mobile applications, have demonstrated the ability to improve patient engagement and self-management by offering real-time data and insights into glucose trends. This comprehensive method to managing fingerstick blood sugar levels not only enhances testing precision but also enables individuals to take control of their health. For more information and resources, visit T2DSolutions to stay informed and supported in your diabetes management journey.

Follow Step-by-Step Testing Procedure
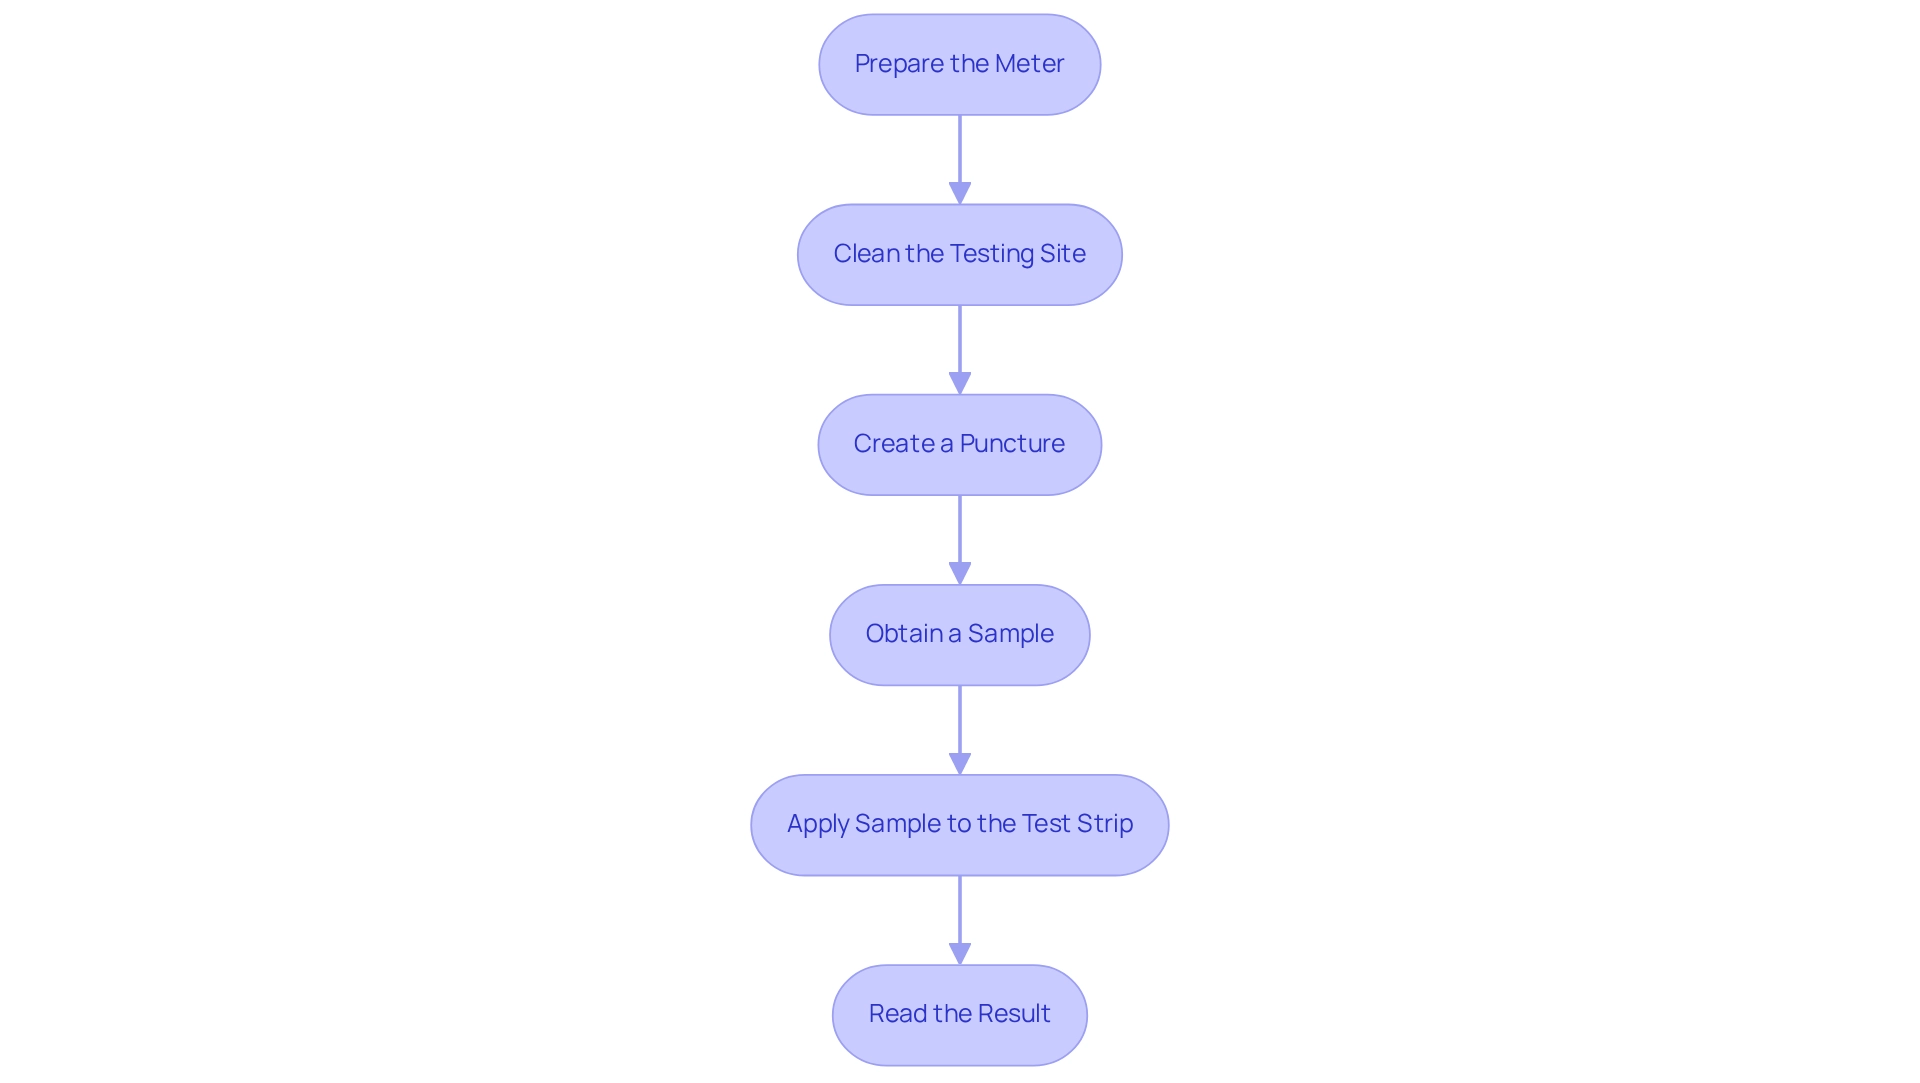
To perform your fingerstick glucose test accurately, please follow these compassionate steps:
- Prepare the Meter: Begin by turning on your glucose meter and inserting a new test strip according to the manufacturer's instructions.
- Clean the Testing Site: Gently use an alcohol swab to clean the side of your fingertip where you will prick. Allow it to dry completely to ensure accuracy.
- To check your fingerstick blood sugar: Hold the lancing device firmly against the side of your fingertip and press the release button to create a small puncture.
- Obtain a Sample: Gently squeeze your finger from the base to encourage a drop of fluid to form. Please avoid excessive squeezing, as this can affect the sample quality.
- Apply Sample to the Test Strip: Touch the edge of the test strip to the drop of sample, ensuring that the sample fills the strip completely for an accurate reading.
- Read the Result: Wait for the meter to show your glucose level. Document the outcome in your logbook or application for future reference.
It's important to understand that proper technique in blood glucose measurement is crucial. Statistics show that blood glucose levels below 3.9 mmol/L (70 mg/dL) may require adjustments in treatment. Regular monitoring is essential for preventing complications related to your condition, as emphasized in recent educational resources. By mastering the fingerstick blood sugar testing procedure, you can take an active role in managing your health effectively.
Furthermore, consider consulting your physician regarding testing for prediabetes or type 2 conditions if you possess any risk factors. This proactive strategy can greatly influence your health management. For further education and support, please visit T2DSolutions, your comprehensive resource hub for diabetes management. Here, you can find additional guidance and connect with community support. Remember, collaborative care among healthcare providers and support networks can also improve your evaluation process, ensuring you have the necessary guidance and support. You're not alone in this journey; we are here to support you every step of the way.

Troubleshoot Common Issues and Ensure Accuracy
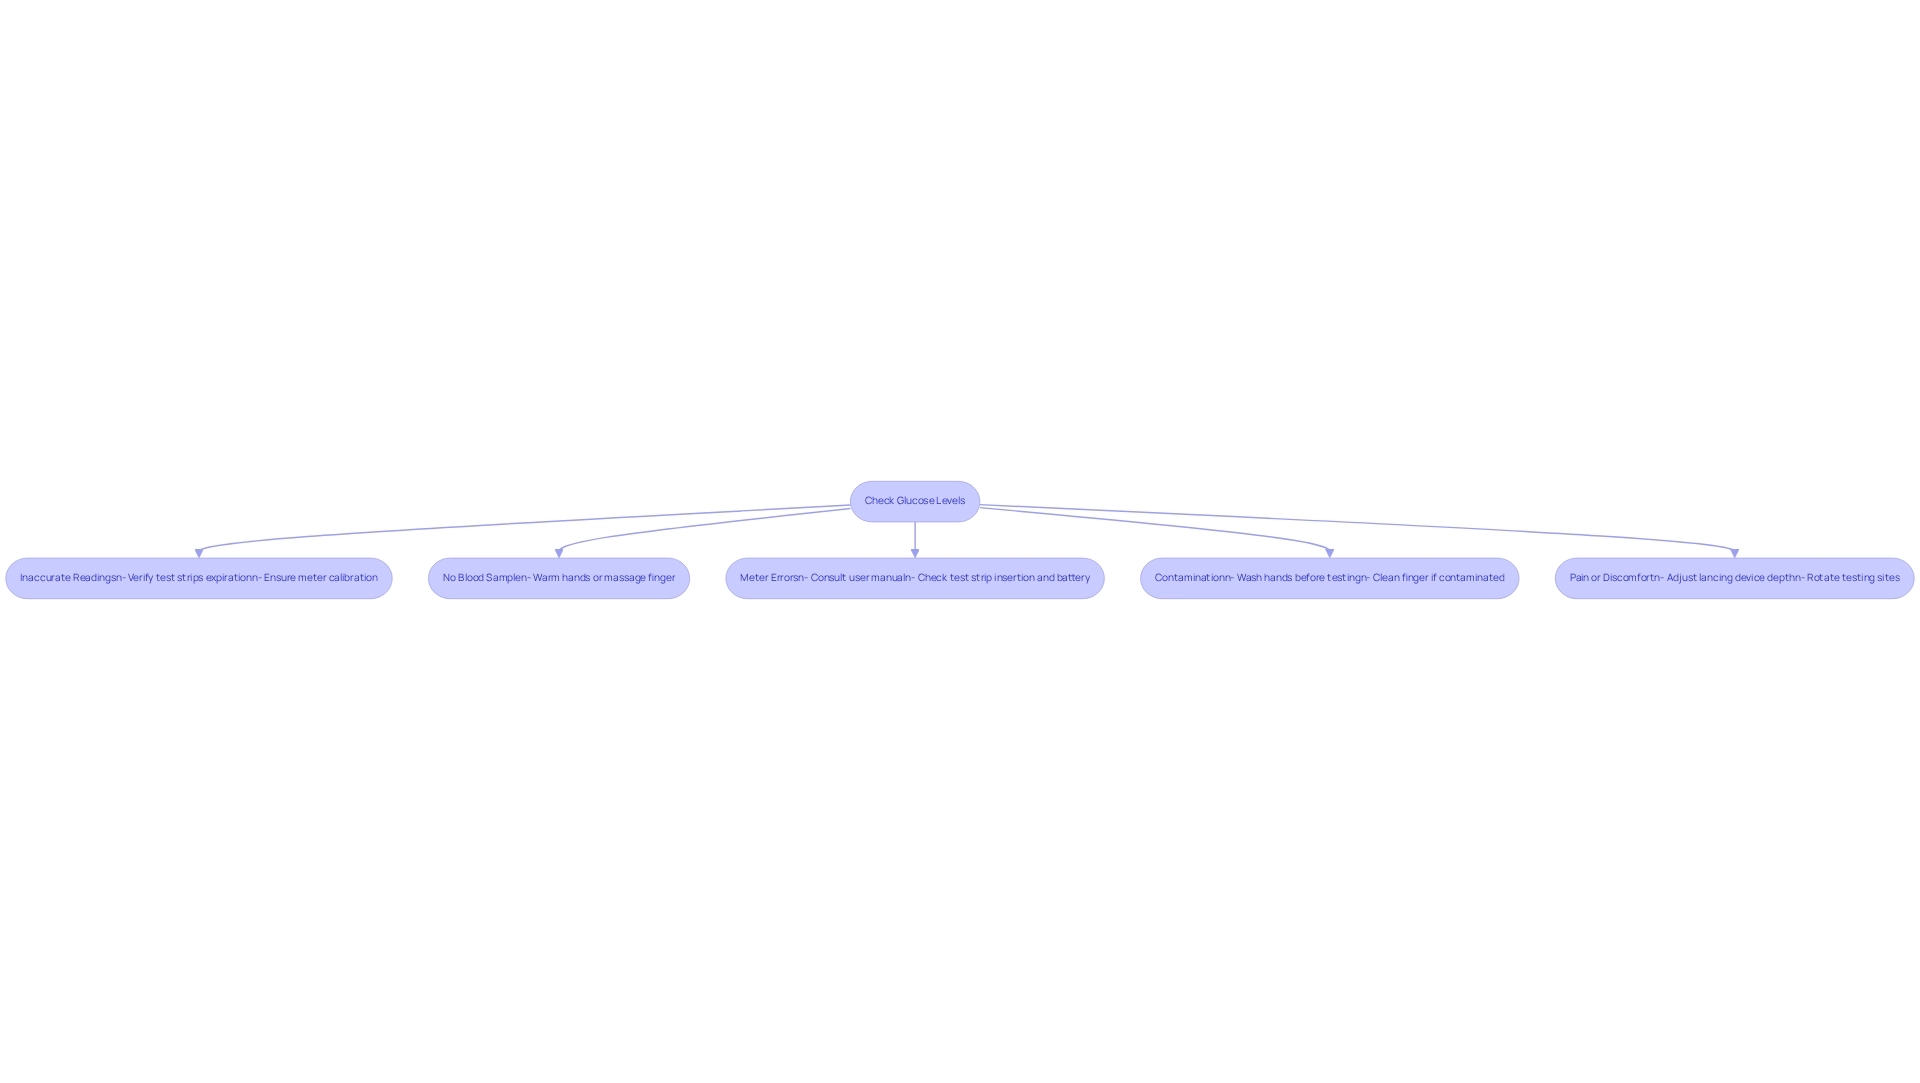
When checking your glucose levels, it's common to encounter various challenges. Understanding these issues is the first step toward achieving accurate results. Here are some expert troubleshooting tips that can help you along the way:
-
Inaccurate Readings: It's important to verify that your test strips are within their expiration date and stored correctly. Additionally, ensure your meter is calibrated according to the manufacturer's instructions. For glucose values less than 100 mg/dL (5.55 mmol/L), compliance is defined as within 15 mg/dL (0.83 mmol/L).
-
No Blood Sample: If you're having difficulty obtaining a blood drop, try warming your hands under warm water or gently massaging your finger to enhance blood flow. Remember, you're not alone in this; many people face similar challenges.
-
Meter Errors: Should your meter display an error code, consult the user manual for specific troubleshooting guidance. Common problems include improperly inserted test strips or a low battery. It's understandable to feel frustrated, but these issues are often easily resolved.
-
Contamination: Always wash your hands thoroughly before testing. If you suspect contamination from food or other substances, clean your finger again and retest. Taking this simple step can significantly improve your results.
-
Pain or Discomfort: If finger pricking causes pain, consider adjusting the depth setting on your lancing device or using a different finger. Rotating testing sites can also help minimize discomfort. Remember, your comfort is important.
Statistics suggest that incorrect glucose readings are a frequent issue among individuals with the condition, often worsened by factors like device inconsistency and user mistakes. A review on blood-glucose measurement accuracy highlighted that monitoring is less reliable in the hypoglycemic range, emphasizing the need for careful technique and equipment maintenance. As Hafiz M.R. Khan observed, "Thus, these findings will be beneficial for researchers and clinicians to choose the most effective sampling techniques to investigate metabolic disorders and other illnesses to enhance the precision of their outcomes."
By adhering to these troubleshooting steps, you can improve the precision and efficiency of your blood sugar assessment, resulting in better management of your diabetes. Additionally, insights from the case study titled "Key Messages on Blood-Glucose Measurement Accuracy" underscore the importance of understanding the variability among devices and the significance of maintaining proper testing techniques. We are here to support you every step of the way.

Conclusion
Mastering the fingerstick blood sugar test is a crucial component of effective diabetes management. By gathering the necessary supplies and preparing adequately, you can ensure reliable testing outcomes. It’s essential to use a functioning blood glucose meter, fresh test strips, and a clean lancing device—these tools are your allies in this journey. Additionally, maintaining a log of your readings not only helps track your health over time but also fosters better communication with your healthcare providers.
Following a precise, step-by-step testing procedure is vital for obtaining accurate results. From preparing the meter to applying the blood to the test strip, each step plays a significant role in ensuring the integrity of your reading. Regular monitoring not only helps in preventing complications but also empowers you to take charge of your health. Remember, you are not alone in this; many are navigating this path alongside you.
Troubleshooting common issues can further enhance your testing accuracy. It’s understandable to encounter challenges, such as inaccurate readings or difficulties in obtaining a blood sample. By being aware of these potential hurdles, you can take proactive measures to address them. This knowledge is instrumental in fostering confidence in your self-management and ensuring that your diabetes remains under control.
In conclusion, understanding how to effectively monitor your blood sugar levels is key to managing diabetes successfully. With the right tools, techniques, and support, you can navigate your health journey with greater assurance and clarity. By taking these steps, not only is your personal health improved, but a collaborative approach with your healthcare providers is fostered, paving the way for a healthier future. Remember, we are here to support you every step of the way.
Frequently Asked Questions
What supplies are needed to perform a fingerstick blood sugar test?
To perform a fingerstick blood sugar test, you need a blood glucose meter, compatible test strips, a lancing device with a new lancet, alcohol swabs, a cotton ball or Band-Aid, and a logbook or app to document your readings.
How should I prepare before starting the fingerstick blood sugar test?
Before starting the test, wash your hands thoroughly with soap and water to maintain cleanliness.
Why is it important to check the expiration dates of test supplies?
It is important to check the expiration dates of test supplies regularly to ensure accuracy and optimal performance. Replace any items that are close to expiring.
What is the purpose of using alcohol swabs before the test?
Alcohol swabs are used to sanitize your finger prior to testing to avoid contamination and ensure reliable results.
How can I document my blood sugar readings?
You can document your blood sugar readings using a logbook or a mobile app, which is essential for monitoring your health over time.
What advancements in blood sugar monitoring technologies are mentioned?
Advancements include smart glucometers and mobile applications that provide real-time data and insights into glucose trends, improving patient engagement and self-management.
What is the significance of cooperation between patients and healthcare professionals in managing glucose levels?
Cooperation between patients and healthcare professionals is essential for precise evaluation and monitoring of glucose levels, as highlighted by a recent study.
Where can I find additional resources and support for diabetes management?
Additional resources and support for diabetes management can be found at T2DSolutions, which offers guidance on using supplies and managing fingerstick blood sugar levels effectively.


